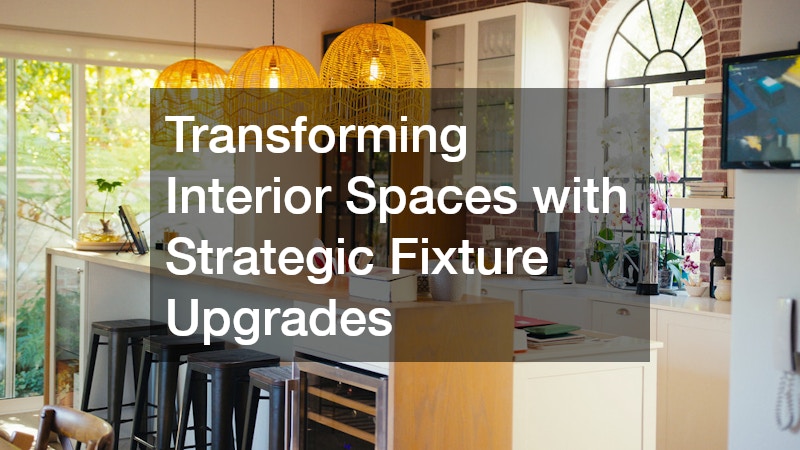

A home starts to feel outdated not because the whole structure is failing, but because small, everyday fixtures quietly stop keeping up with your needs. The good news is that you do not need a full renovation to make your interior feel fresh, safer, and more functional. Strategic upgrades to specific systems and fixtures can deliver an outsized return on both comfort and home value. This guide walks through the most impactful upgrades room by room, so you can prioritize the changes that matter most to your household.
Upgrading Electrical Panels and Wiring Behind the Walls
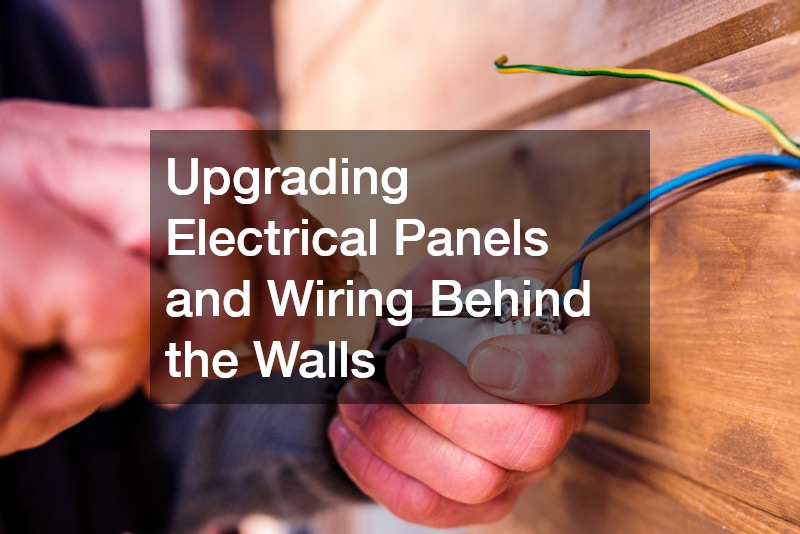
Many homes built more than two decades ago are running on electrical panels rated for 100 amps or less, sized for a world without central air, multiple computers, EV chargers, and a dozen phone chargers plugged in at once. Today’s households often need 150 to 200 amp service just to keep up, especially if you’re adding upgraded lighting fixtures, heated floors, or a kitchen full of new appliances. Overloading an outdated panel doesn’t just trip breakers; it creates a genuine fire hazard. Flickering lights, frequently tripped breakers, warm or discolored outlet covers, and a persistent burning smell near your panel are all signs that your wiring may need attention before you add new fixtures on top of it. Older homes may also still have aluminum wiring or ungrounded outlets, both of which pose safety concerns and complicate any modern fixture installation. A quick way to gauge your risk is to check the panel’s age and amperage rating, often printed inside the panel door, and compare it against your household’s current appliance count. Working with licensed residential electrician companies ensures that any panel upgrade or rewiring project meets current safety codes and is sized correctly for your household’s actual usage. A qualified electrician will typically perform a load calculation, accounting for HVAC systems, major appliances, and future additions like a hot tub or workshop, before recommending a panel size. They can also identify whether you need dedicated circuits for high-draw fixtures, such as heated towel racks or statement lighting installations, so new upgrades don’t overtax existing infrastructure. Budgeting for this kind of work matters too, since a full panel upgrade often runs between $1,500 and $4,000 depending on your region and the scope of rewiring involved. While that expense doesn’t come with the visual payoff of a new fixture, it’s the foundation that lets every future upgrade function safely and reliably for years to come.
Beyond safety, updated wiring opens the door to features like recessed lighting, dimmer systems, and dedicated circuits for kitchen appliances. Many older homes were wired for 60-amp or 100-amp service, which simply can’t support today’s mix of smart devices, electric vehicle chargers, and high-draw appliances. Upgrading to a 150 or 200-amp panel gives you the headroom to add these features without tripping breakers or overloading circuits. Dedicated circuits are especially worth prioritizing in kitchens and bathrooms, where refrigerators, microwaves, and hair dryers demand steady, isolated power. Installing 20-amp circuits for these zones reduces the risk of nuisance trips and extends the life of your appliances. It also satisfies most modern building codes, which increasingly require separate circuits for high-demand fixtures. It also makes future upgrades far easier to install without costly retrofits. Running extra conduit or additional wiring during a renovation—even if you don’t use it right away—can save thousands of dollars later when you decide to add under-cabinet lighting, a home theater, or smart switches. Think of it as building in flexibility: the walls are already open, so it costs far less to plan ahead than to cut them back open in five years.
- Have an electrician inspect your panel if your home is older than 25 years, especially if it still uses fuses or a Federal Pacific/Zinsco panel, both known fire hazards
- Watch for outlets that feel warm, discolored faceplates, or buzzing sounds — all signs of loose connections or overloaded circuits
- Ask about surge protection when upgrading your panel, since a whole-house surge protector costs far less than replacing fried electronics after a power spike
- Confirm your panel can support future additions like a home office, workshop, or EV charger, which often require dedicated 20-40 amp circuits
- Check your panel’s total amperage; many older homes have 100-amp service, while modern households with multiple appliances often need 200 amps
- Budget $1,500-$4,000 for a full panel upgrade, depending on amperage, permits, and local labor rates
Preparing Your Garage for Electric Vehicle Charging

As more households add electric or hybrid vehicles to the driveway, a dedicated charging setup has become one of the more practical fixture upgrades a homeowner can make. Installing a home EV charging station in the garage or carport eliminates the hassle of relying on public chargers and can significantly cut down charging time compared to a standard outlet. A standard 120-volt outlet might take 20 hours or more to fully charge an EV, while a Level 2 station can do the same job in as little as 4 to 8 hours. Most Level 2 units require a dedicated 240-volt circuit, so this project often goes hand in hand with an electrical assessment. A licensed electrician will need to confirm that your home’s electrical panel has enough spare capacity, typically 40 to 60 amps, to support the new circuit without overloading the system. Placement matters too. Consider where your vehicle typically parks, how far that spot is from the panel, and whether the charger should be hardwired or plugged into a NEMA 14-50 outlet for flexibility if you upgrade vehicles later. It’s also worth checking local permit requirements and available utility rebates, since many electric providers offer incentives that offset installation costs.
Before installing a charger, confirm your electrical panel has enough capacity. A Level 2 charger typically requires a dedicated 240-volt circuit rated between 40 and 60 amps, so homes with older 100-amp panels may need a panel upgrade to 150 or 200 amps before adding one. Beyond convenience, a properly installed charging station can be a genuine selling point if you ever list your home, since more buyers are shopping with electric vehicles in mind. Real estate data increasingly shows homes with EV infrastructure moving faster and commanding modest price premiums in EV-friendly markets. Choosing a unit with weatherproofing and smart connectivity features adds flexibility for scheduling off-peak charging, which can meaningfully lower electricity costs if your utility offers time-of-use rates. Look for an outdoor-rated enclosure (NEMA 3R or 4 rated) if the charger will be mounted outside or in an unheated garage, and prioritize models with Wi-Fi or app controls so you can monitor charging status remotely. Finally, factor in installation costs and permitting. A licensed electrician typically charges between $500 and $1,500 for a Level 2 install depending on panel distance and wiring complexity, and many municipalities require a permit and inspection to keep the work up to code.
Refreshing Kitchen and Bathroom Fixtures for Everyday Function
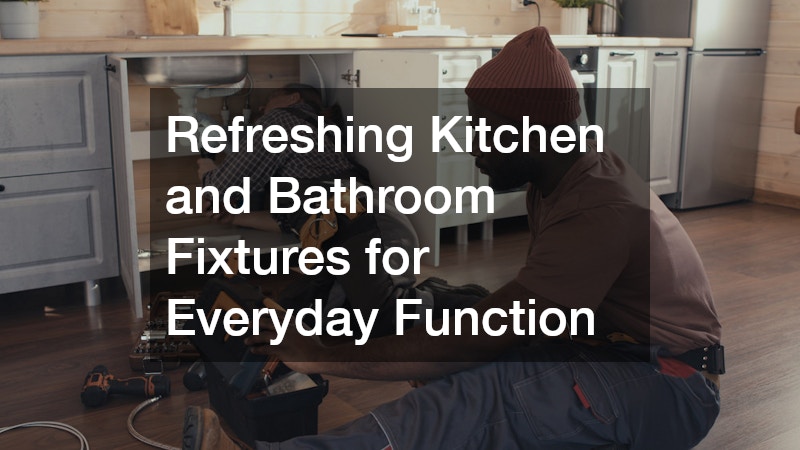
Faucets, showerheads, and shutoff valves take a beating from daily use, and worn components are often responsible for the small leaks that quietly inflate water bills. Before starting any fixture swap, it helps to understand what is available at your local plumbing supplies store, since matching thread sizes and finishes correctly the first time saves a return trip. Many homeowners are surprised how much a new faucet or pressure-balanced shower valve can modernize a room without touching tile or flooring.
- Look for WaterSense-labeled faucets and showerheads to reduce water usage
- Replace supply lines and shutoff valves that are more than 15 years old
- Choose finishes that match existing hardware for a cohesive look
- Keep spare washers and O-rings on hand for quick repairs
Reinforcing Your Roof Before Interior Damage Occurs
It might seem like an odd place to start when thinking about interior spaces, but a compromised roof is one of the fastest ways to undo any indoor upgrade you make. Storm-prone regions in particular benefit from working with a fortified roofing company that builds in reinforced decking, sealed roof edges, and impact-resistant materials designed to withstand high winds. This kind of roofing standard is increasingly recognized by insurers, which can also translate into lower premiums.
Protecting the roof first means your new paint, flooring, and cabinetry investments are not put at risk by a future leak. It is a preventative step that pays for itself by protecting everything underneath it.
Responding Quickly When Water Intrudes Your Home
Even with a solid roof and updated plumbing, leaks and appliance failures still happen, and how quickly you respond determines whether the damage stays minor or becomes structural. Prompt water damage cleaning restoration service can prevent mold growth, warped flooring, and damaged drywall from spreading beyond the original source. Most professionals recommend addressing standing water within 24 to 48 hours to limit long-term issues.
- Shut off the water source immediately if a pipe bursts or an appliance leaks
- Move furniture and electronics away from affected areas
- Use fans and dehumidifiers to reduce moisture while waiting for help
- Document damage with photos for insurance purposes
Defining Outdoor Boundaries With a New Fence Installation
While interior upgrades get most of the attention, the transition between your indoor living space and the yard plays a real role in how the whole property feels. A well-planned fence company can help you choose materials that complement your home’s exterior, whether that means classic wood, low-maintenance vinyl, or ornamental metal. Privacy fencing in particular can make patios and sunrooms feel like a true extension of the indoor living space.
Fencing also affects practical matters like pet containment, curb appeal, and even resale value, so it is worth treating as more than an afterthought. Getting quotes based on linear footage and material type helps you compare options accurately.
Selecting Flooring That Matches Your Household’s Daily Life

Flooring sets the tone for an entire room, and the right choice depends heavily on foot traffic, moisture exposure, and maintenance tolerance. Consulting with established flooring companies gives you access to samples and durability ratings you simply cannot judge from photos online. Hardwood, luxury vinyl plank, and tile each bring different strengths, so matching the material to the room’s actual use matters more than chasing a trend.
- Choose water-resistant flooring for kitchens, bathrooms, and mudrooms
- Consider engineered hardwood in spaces with fluctuating humidity
- Ask about underlayment options to reduce noise between floors
- Request maintenance instructions specific to the material you select
Planning Larger Renovations With Long-Term Layout Goals
Sometimes fixture upgrades reveal a bigger issue, like a kitchen layout that no longer serves the household or a floor plan that feels cramped as a family grows. In these cases, bringing in a custom home builder for an addition or major reconfiguration can be more cost-effective long term than a series of disconnected fixes. A builder can also help sequence electrical, plumbing, and structural work so nothing gets installed twice.
Even a smaller project, like extending a kitchen island or opening a wall between rooms, benefits from professional input on load-bearing considerations. Planning ahead prevents the frustration of upgrading a fixture only to remove it during a later renovation.
Maintaining the Outdoor Equipment That Supports Your Home
Interior comfort depends partly on a well-kept exterior, and that includes the equipment that keeps your lawn looking its best. Routine lawn mower repair extends the life of your equipment and prevents the frustration of a machine failing mid-season. Simple maintenance like blade sharpening, oil changes, and air filter replacement can be handled seasonally to avoid bigger repair bills later.
- Sharpen mower blades at least once per season for a cleaner cut
- Check spark plugs and air filters before the first spring mow
- Store equipment properly during winter months to prevent corrosion
- Address unusual noises or vibrations before they become major issues
Customizing Bathroom Storage for Long-Term Organization
Bathrooms often suffer from the most generic, builder-grade cabinetry in the whole house, which can make storage feel like a constant struggle. Custom bathroom cabinetry allows you to design around your actual toiletries, linens, and cleaning supplies instead of adjusting your habits to fit standard shelving. Features like pull-out drawers, built-in hampers, and adjustable shelving make a noticeable difference in daily usability.
This kind of upgrade also pairs well with fixture changes like new sinks or vanities, since cabinetry can be designed to match plumbing placement exactly. Investing here tends to have strong staying power, since good storage rarely goes out of style.
Transforming your interior spaces does not require tackling everything at once. Start by identifying which fixtures or systems are causing the most daily frustration, then prioritize upgrades that protect your home while improving comfort and function. Whether that means addressing the roof first or finally fixing bathroom storage, each strategic improvement builds toward a home that works better for the way you actually live.